scrap quilt

a seriously scrappy quilt

In general, I’m a “work on one quilt at a time” kind of quilter.  Once I start a quilt, I get tunnel vision and I am unable to think about any other project until the quilt has been bound and donated/gifted/put to use.  I have two current project exceptions to this, one of which is this mega-scrappy quilt.  This project has sat dormant for so long that I no longer know when I started it!  At some point (several years ago!), I pulled out all my scraps and started sewing them together.  At the time, I was still a novice quilter and while I had the idea to make a scrappy quilt, I didn’t have the slightest idea how to put it together.  Flash forward several years and armed with about a million completed quilts under my belt, I pulled out the pieces and sewed them all together.  It only took me an hour or so to sew the large pieces together – go figure!

scrap quilt

It’s so fun to see random pieces from my previous projects in this quilt (those chickens!)!

scrap quilt

scrap quilt

scrap quilt

Needless to say, I love how this quilt came out!  Clearly, the moral of the story is to not let unfinished quilts sit around for years and years!

pinwheel quilt

pinwheel quilt

My last quilt finish of 2018 was a quilt for my brother and sister-in-law’s baby.  I am super superstitious about baby gifts so I didn’t even want to give the quilt to them until the baby was born.  I was so proud of the way the quilt came out that I caved and gave it to them on Christmas Eve.  Their baby was born on January 5.

As you can likely tell by the color choice, they had a boy!  I made a simple pinwheel quilt.  I’ve made my brother and sister-in-law a couple other quilts but I still can’t get a read on what they like so I went with simple.  And I think it came out great!

pinwheel quilt

pinwheel quilt

I am so proud of the way the quilting came out – barely any puckering and my lines are so neat and straight!

pinwheel quilt

The back is a mix of leftovers from the quilt blocks and some larger pieces that just “work”.

pinwheel quilt

I hope they love the quilt but most of all I hope they use the quilt!  Quilts are meant to be loved, used and abused :-)

Tree of Life quilt

Tree of Life Quilt

I became obsessed with the Tree of Life Quilt while watching Alias Grace on Netflix earlier this year.  Quilts are an important feature of the series (and book) and I’d love to make versions of all of the quilts mentioned in the show/book.  I became so obsessed, I even took a picture of my tv!

Tree of Life quilt

After declaring that I was going to make this quilt, I saw it again, this time at the Museum of Russian Icons in Clinton, MA.

https://www.museumofrussianicons.org/

Since this is a very traditional pattern, I found it in a lot of books at the library.  I didn’t love how most of the patterns were written, so I created my own.  In case you’re wondering, each block had 84 pieces – total madness but very fun to make!  I’m sure there is an easier way to draft this pattern but my quilt math is a little sketchy.

Tree of Life quilt

Tree of Life quilt

I followed my usual method of “throw a bunch of fabric on the floor that I want to use and I think kind of works together and stare at it for a week and adjust as needed”.  I love how the fabrics work together!!

Tree of Life quilt

Tree of Life quilt

Tree of Life quilt

Tree of Life quilt

Despite the madness of working with a billing 2.5″ squares, this was super fun to make and I love how it turned out!  I just picked my machine up from getting serviced and after a little quilting break, I am ready to get back to sewing!

scrappy quilt in blue

scrappy quilt – blue

Since my pink/red/black scrap quilt was so fun, I decided to make another in blue/green/yellow.  I barely planned this out and realized only a few blocks in that I didn’t have as many blues and greens in the right shades.  Why knew there were so many shades of blue and green?!  I threw in a bit of yellow and some other random scraps so make it work.  To be honest, as individual blocks, this quilt didn’t work at all so I was really nervous to put the blocks together.  Fortunately, my eye and brain were wrong and it worked out!

I used the same technique as the last quilt – I just sewed scraps together until I had blocks that were slightly larger than 6″ and then trimmed them to size.  These are very fun to make and I plan to make more when I have more scraps!

scrappy quilt in blue

scrappy quilt in blue

scrappy quilt in blue

For the back, I went with my old favorite “use whatever is left from the quilt top and add in whatever larger scraps until I have the right size”.  I should patent that technique, right?  :-)

scrappy quilt in blue

I know I say this with almost all of my finished quilts, but I really love how this one came out!

necktie dresden

necktie Dresden-ish

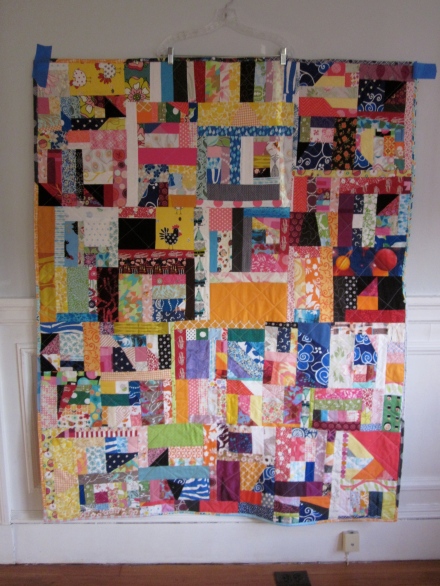
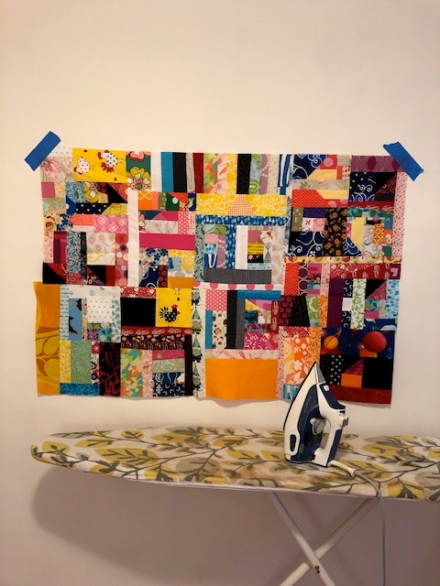
After my first two projects with my grandfather’s old neckties (seen here and here), I still had a few left over so I decided to make a small wall hanging for myself.  When I first looked for ideas for quilt patterns for the neckties, I found a lot of samples of Dresden blocks/quilts.  Since I didn’t have too many ties left, I thought making one Dresden square would be perfect.

There are a million Dresden patterns on the internet, but I used this one.  It was very easy to follow except for two small problems.  The first problem is that evidently, interfacing can lose its stickiness over time.  Or at least this was the case with what I had in my stash?  It was a nightmare to work with and no amount of watering or pressing would get it to stick.  This caused the neckties to pull a bit when sewing them together.

The second problem is that I never use a true 1/4″ seam.  I hope this confession doesn’t get me kicked out quilt club!  :-)  I just follow the right side of my sewing foot as my seam allowance.  I’ve always done this and as long as I always use that as my seam allowance measurement, I’ve never had a problem.  My blocks/quilts come out a little smaller than they are supposed to but I don’t really see that as a “problem.”  The problem with the Dresden block is that is there is no wiggle room among the blades to be off in your measurements.  As a result, I made what I believe to be the first Dresden oval :-)  I should have trimmed each quarter of the Dresden instead of both halves of the Dresden.  It looks a bit like it should be framing a mirror.  I’m kind of annoyed by this but it’s only going on my wall so I’m chalking it up as a “learning moment”.  And no, I am not going to change how I measure seam allowances, unless it’s a project that built around a finite amount of wedges.

necktie dresden

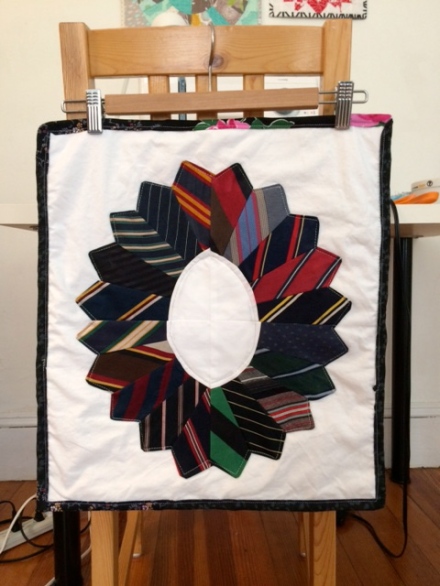
It doesn’t look horrible, it just didn’t come out the way it was supposed to.  And since the point of the project was to make something with my grandfather’s neckties I still like how it came out and love seeing it on my wall.

necktie dresden

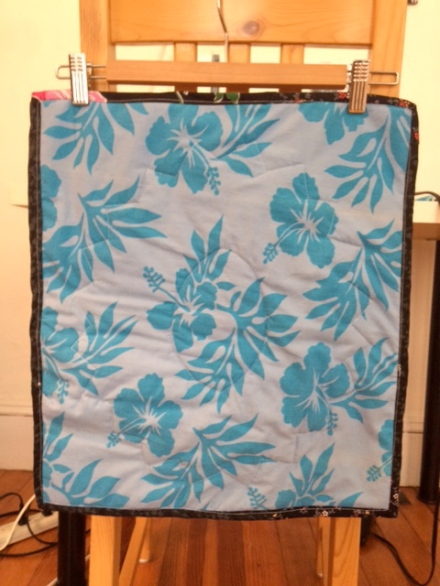
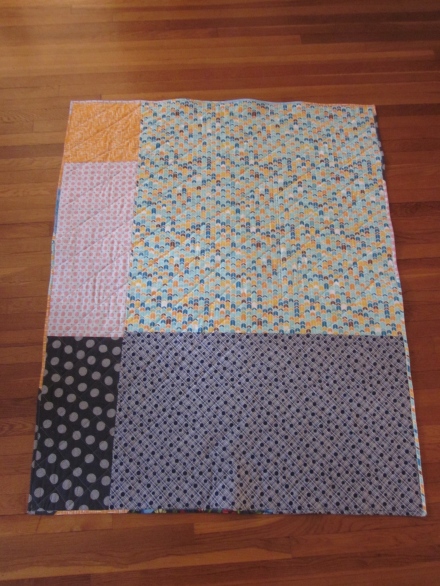
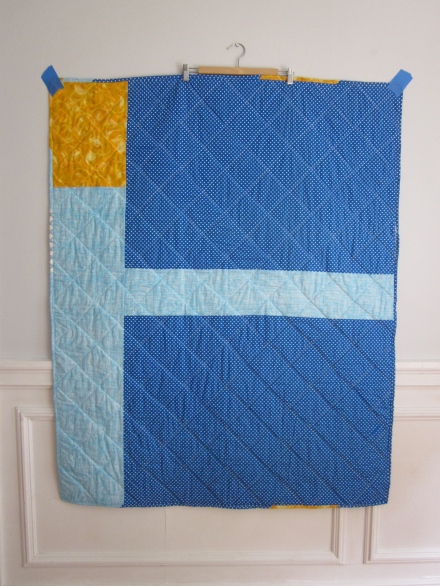
The back is a random Hawaiian shirt fabric that picked up somewhere.  I like the fabric but couldn’t imaging using it for a quilt so it’s kind of perfect for this project.

It’s been really fun working with my grandfather’s neckties, but alas, I’m out of necktie scraps and it’s time to move on.  I love that my brother, my mom and I all have a piece of them.